
FreeBSD, a powerful and versatile operating system, offers users a high degree of customization and control. While many users prefer the simplicity of a preconfigured desktop environment, others relish the freedom to build their own from scratch. This guide caters to those who desire the familiar and user-friendly GNOME desktop on their FreeBSD system.
We’ll embark on a journey to install and configure GNOME, tailoring it to your preferences. Fear not, for this adventure is designed to be accessible even for those new to FreeBSD.
Why Choose GNOME?
GNOME is a popular desktop environment known for its intuitive interface, extensive application ecosystem, and active development community. It offers a polished and user-friendly experience, making it an excellent choice for both beginners and experienced users.
Prerequisites
Before we begin, ensure you have the following:
- A running FreeBSD system with root access.
- A working internet connection.
- Familiarity with basic command-line operations.

Installation Steps
Note: Sudo is not installed by default in FreeBSD, if so then first login as root then install sudo:
pkg install sudoThen add yourself to sudoer list using:
echo "USER ALL=(ALL) ALL" >> /usr/local/etc/sudoersUpdate and Upgrade FreeBSD:
It’s crucial to update and upgrade your FreeBSD system before installing GNOME. This ensures compatibility and stability. Open a terminal and run the following commands:
sudo pkg update
sudo pkg upgrade
Install GNOME:
Now, let’s install GNOME. You can do this with a single command:
sudo pkg install gnome-desktop gdm xorg gnomeEnable Necessary Daemons:
FreeBSD typically doesn’t run the X server or certain daemons needed for GNOME by default. We need to enable them manually. So just execute these commands:
sudo sysrc gnome_enable="YES"
sudo sysrc moused_enable="YES"
sudo sysrc dbus_enable="YES"
sudo sysrc hald_enable="YES"
sudo sysrc gdm_enable="YES"
Mount /proc Filesystem:
GNOME requires the /proc filesystem to be mounted at startup. So just execute this command to mount it :
sudo echo 'proc /proc procfs rw 0 0' >> /etc/fstabReboot and Log In:
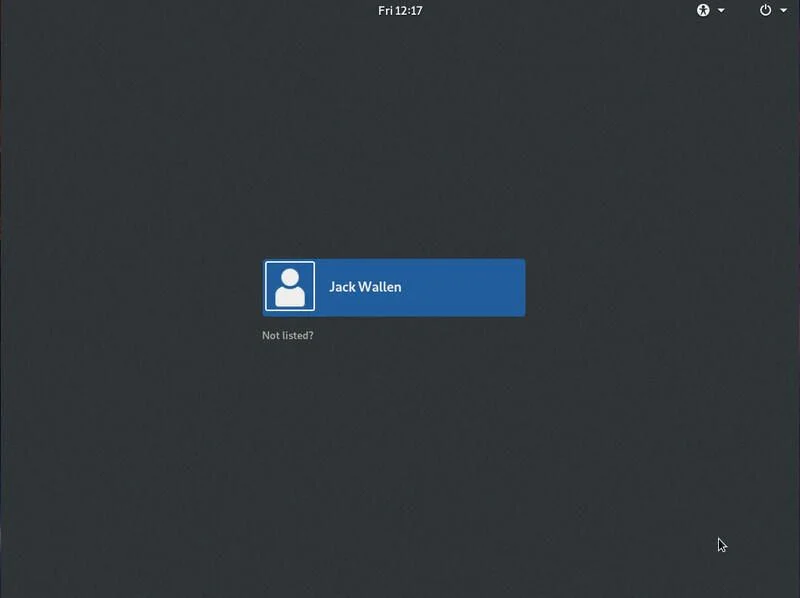
Reboot your system. You should now be greeted by the GNOME login manager (GDM). Log in with your credentials to access your new GNOME desktop!
Post-Installation Configuration
Now that you have GNOME up and running, let’s personalize it:
- Language and Keyboard Settings: Navigate to Settings > Region & Language to configure your preferred language and keyboard layout.
- Theme and Appearance: Customize the look and feel of your desktop by choosing a theme from Settings > Appearance.
- Adding Applications: Explore the vast array of applications available in the GNOME Software Center. You can also install applications from the command line using pkg or ports.
- Exploring GNOME Shell Extensions: Enhance your desktop experience with GNOME Shell Extensions, which add functionality and customization options.
Tips for a Smooth Experience
- Keep your system updated: Regularly update your packages or ports to ensure you have the latest bug fixes and security patches.
- Read the documentation: The FreeBSD Handbook and GNOME documentation are valuable resources for troubleshooting and learning more about your system.
- Join the community: The FreeBSD and GNOME communities are friendly and helpful. Don’t hesitate to ask questions and seek assistance.
Conclusion
Congratulations! You’ve successfully installed and configured GNOME on your FreeBSD system. Enjoy the intuitive interface, powerful features, and vast application ecosystem that GNOME offers. Remember, the FreeBSD community is always there to support you on your journey.
This guide provides a solid foundation for your GNOME experience on FreeBSD. Feel free to explore, customize, and make it your own!


Leave a Reply